Having ironed my own business shirts for the last 40 years, and working within menswear for the same amount of time, this is how I do it. Firstly if you have new business shirts that need a first iron then it’s a good idea to check the care label to see ironing instructions for heat settings for your iron. Natural fibres like all cotton can take more heat than fabrics with a high polyester content.
Key Considerations Before Ironing
A clean and sturdy iron
The soleplate of the iron should be sturdy and dirt-free since it is the face which comes in direct contact with your shirts.
A poorly built soleplate may have an uneven distribution of heat which can damage your shirts.
Moreover, a dirty soleplate will leave stains on your fresh clothes.

A standard ironing board
It is easy and more comfortable to remove wrinkles on a well-built ironing board compared to a table or desk.
Note: You can also use a table or desk for ironing. Having an ironing board is no hard and fast rule.
A freshly laundered dress shirt
Wash your shirt with a fabric conditioner instead of detergent because that’ll make it soft, fast drying and easy to iron.
Also, make sure to remove your shirt from the dryer as soon as the buzzer goes off. That’ll form fewer wrinkles on the shirt.
The material of your shirt
Make sure to sort your business shirts as per their fabric types like cotton, linen, polyester because the iron has different settings for different fabric types.
Also, take a note of the iron symbol(number of dots) on the care tag(behind the collar) of your shirt.
For instance, if the iron symbol is three dots, then the material of the shirt is linen or cotton.
Water
Read your iron’s manufacturer’s suggestion and accordingly fill up your iron with tap water or distilled water.
If you aren’t sure of which type of water to use then, fill up your iron with both distilled water and tap water in a 50/50 ratio.
Note: In case you don’t have a steam iron, evenly spray water or starch over your shirt to dampen it before ironing.
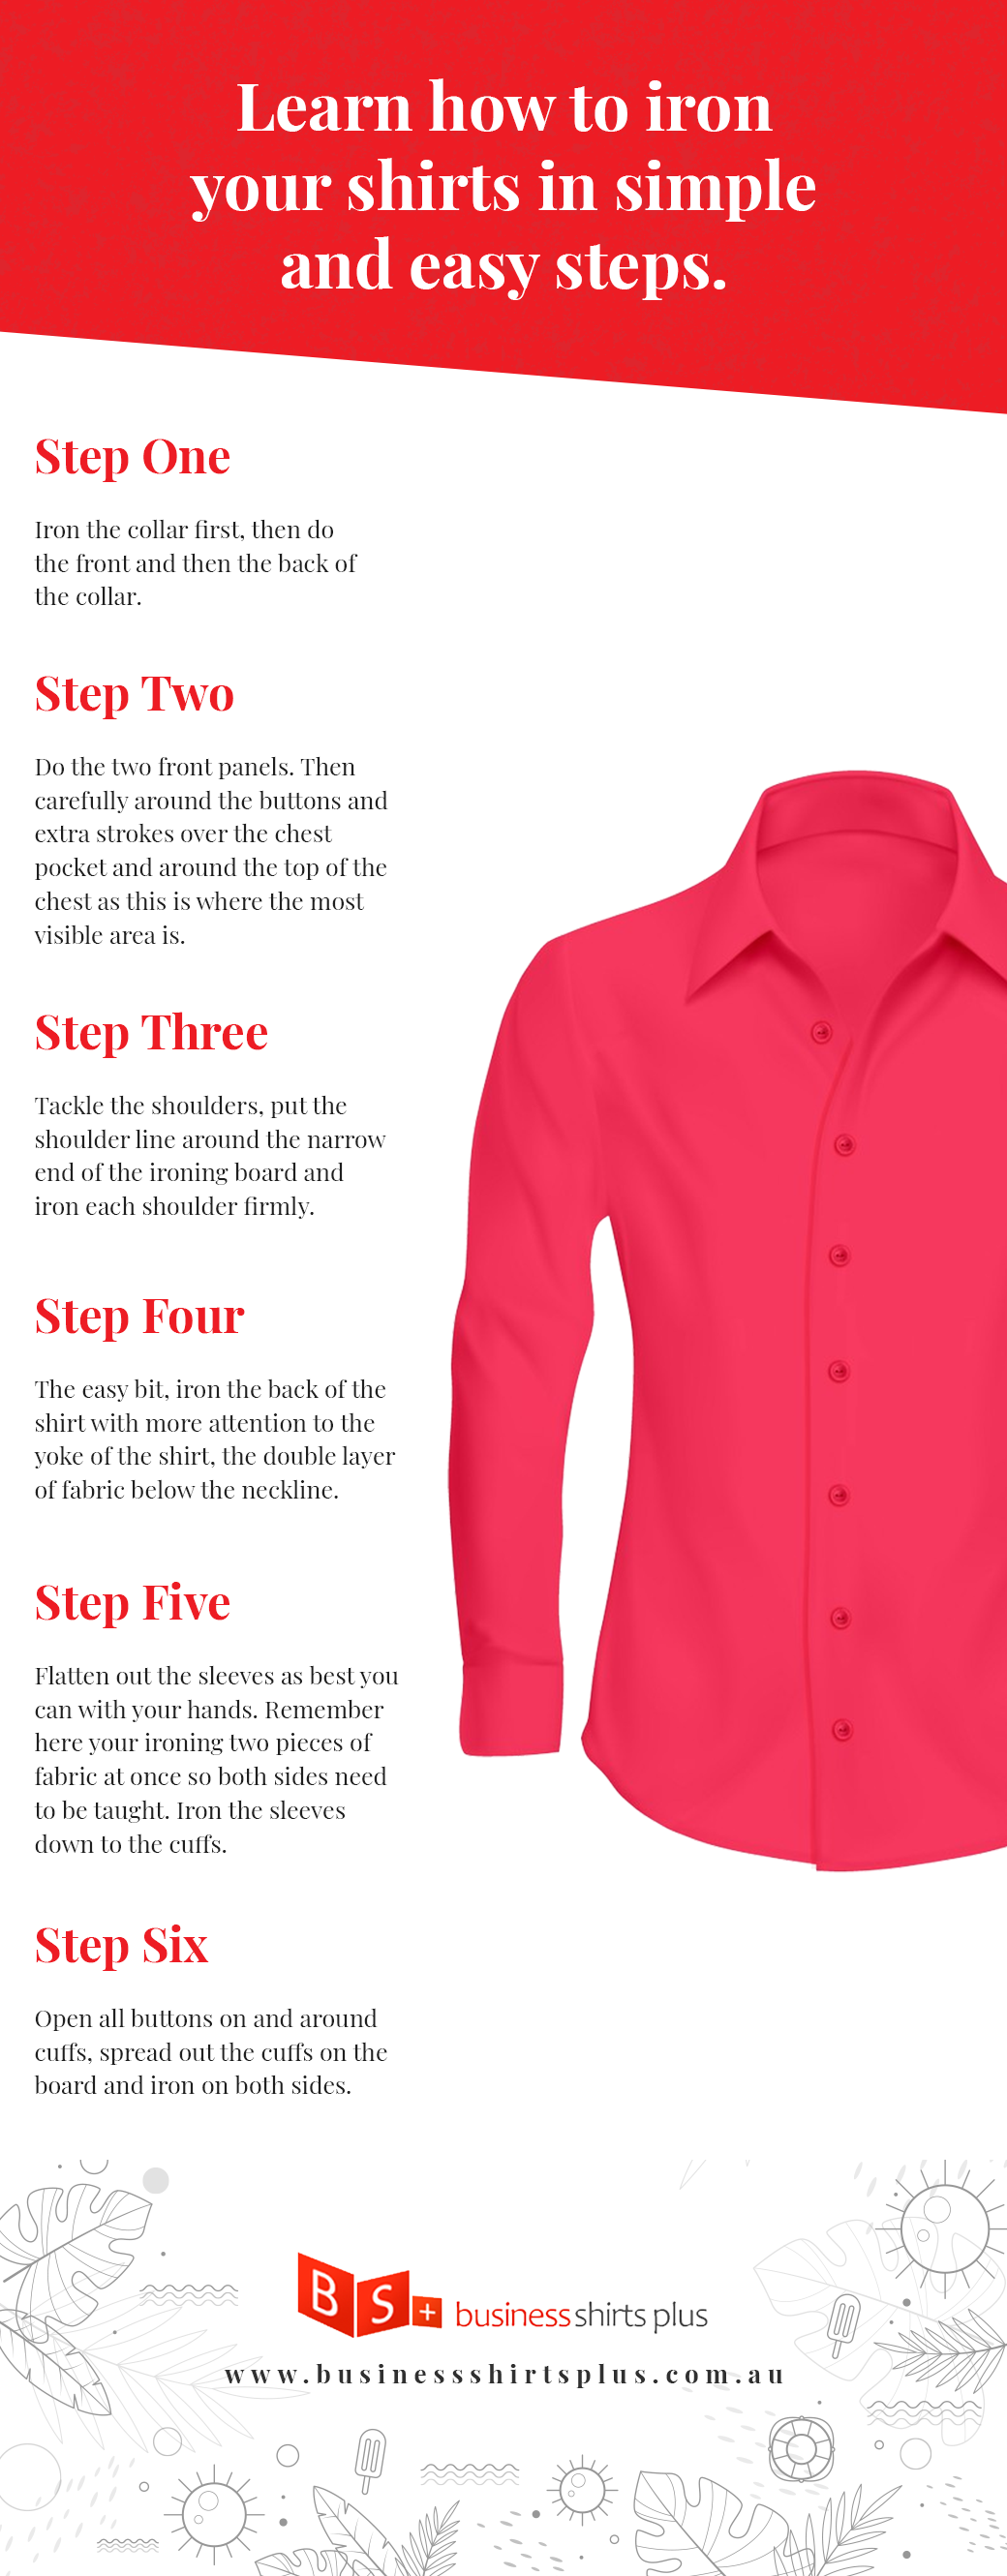
Here are my six ironing steps for business shirts.
To begin with, undo the buttons of your freshly laundered shirt and place it on an ironing board. Let your iron reach the desired temperature and then follow the step-by-step guide for ironing your shirt.

Step One
Iron the collar first, the do front and then the back of the collar.
Step Two
Do the two front panels. Then carefully around the buttons and extra strokes over the chest pocket and around the top of the chest as this wear, the most visible area is.
Step Three
Tackle the shoulders, put the shoulder line around the narrow end of the ironing board and iron each shoulder firmly.
Step Four
The easy bit, iron the back of the shirt with more attention to the yoke of the shirt, the double layer of fabric below the neckline.
Step Five
Flatten out the sleeves as best you can with your hands. Remember here your ironing two pieces of fabric at once so both sides need to be taught. Iron the sleeves down to the cuffs.
Step Six
Open all buttons on and around cuffs, spread out the cuffs on the board and iron on both sides.
Job done! but if you’re not wearing your mens business shirts right away then it’s best to do the top two buttons up and the bottom one or two, so the collar is supported and it holds better in the wardrobe.
If you noticed your shirt looking a bit sad with wear and tear, then head for our website.